This comprehensive guide provides a step-by-step approach to restoring your classic J.I. Case 444 garden tractor, blending historical context with practical instructions for collectors, restorers, and enthusiasts. Whether you're a seasoned mechanic or a novice, this guide empowers you to bring this iconic machine back to its former glory. For more Case 444 information, check out this helpful resource: Case 444 resources.
Assessing Your Case 444: A Thorough Inspection
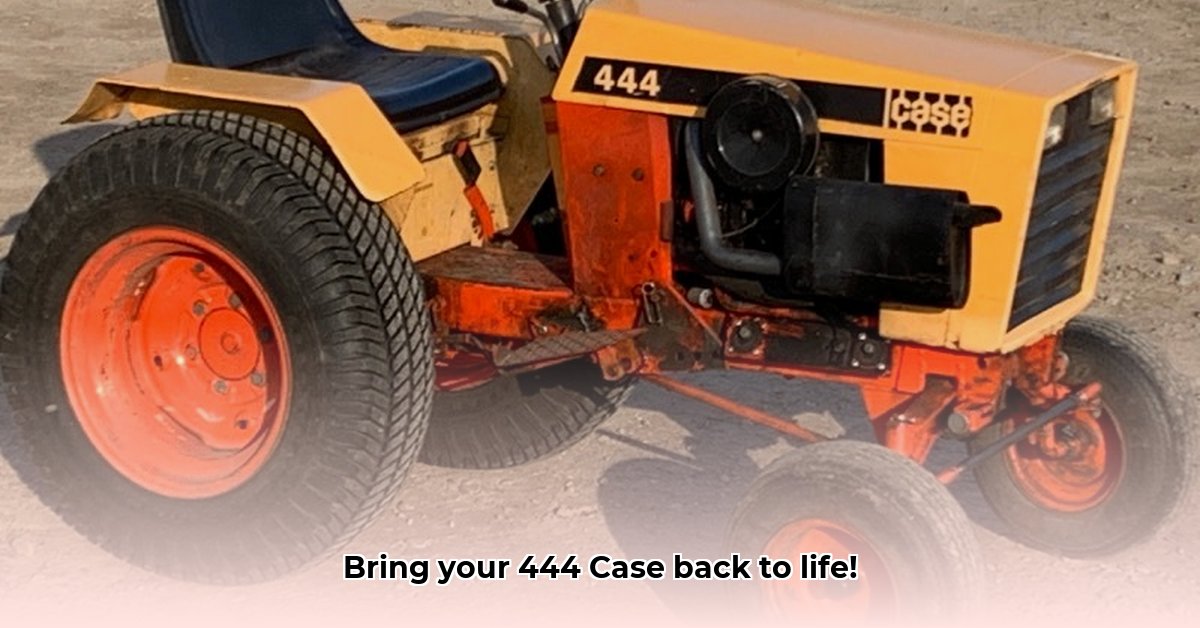
Before beginning the restoration, a meticulous inspection is paramount. Document the current state of your tractor with detailed photographs from every angle. This visual record serves as an invaluable roadmap throughout the restoration process. Note any significant damage, such as frame damage (especially near the transaxle, a common point of weakness), missing parts, or areas exhibiting significant wear. Create a detailed inventory list to guide your parts acquisition strategy. This foresight minimizes frustration and delays later in the project. Did you know that the Case 444’s robust 14-horsepower Kohler K321AS engine is a testament to its enduring reliability?
Gathering Necessary Parts and Tools
Securing the necessary parts and tools is a crucial preparatory step. Many common parts are still available from online vendors and specialized dealers catering to vintage equipment. However, some components might require more extensive searching. Compile a comprehensive parts list as you proceed, cross-referencing your findings with online resources and manuals. Essential tools include standard wrenches, screwdrivers, pliers, a socket set, and potentially specialized tools depending on your restoration needs. A well-equipped toolbox paired with a reliable shop manual can greatly enhance the effectiveness of your process. Think of this stage as equipping your "surgical team" before the operation commences.
Restoring Your Case 444: A Step-by-Step Approach
The restoration of a vintage tractor is a rewarding journey, not a race. Proceed methodically, enjoying each stage of the process.
Step 1: Disassembly: A Careful and Documented Process
Begin by carefully disassembling your tractor, one component at a time. Throughout this process, diligent documentation is essential. Number every part, bag them carefully with descriptive labels, and maintain your comprehensive photographic record. This meticulous approach minimizes errors during reassembly and allows for efficient troubleshooting. Remember, every nut and bolt holds a piece of history; treat each step with respect.
Step 2: Deep Cleaning: Bringing Back the Shine
Once disassembled, thoroughly clean every part using appropriate cleaning agents—degreasers, solvents, and stiff brushes. The goal is complete removal of grease, dirt, and grime. A meticulously cleaned component is the foundation of a successful restoration.
Step 3: Repair and Replacement: Addressing Mechanical Issues
Now comes the repair and replacement stage. Replace worn or damaged components, and repair or rebuild those that are salvageable. Refer consistently to your parts list and research; this phase requires a blend of mechanical aptitude and patience.
Step 4: Reassembly: Putting it Back Together
Reassembly is the mirror image of disassembly, but often more challenging. Constantly refer to your photographs and notes from the earlier stages. Take your time, meticulously following your documentation. Precision is paramount here—errors can significantly impact functionality.
Step 5: Testing and Fine-Tuning: The Final Checks
Once reassembled, conduct a thorough test of every system – from the engine and transmission to the hydraulics and linkages. Adjust components like the carburetor as needed to ensure optimal performance. A test run under various operating conditions is essential to ensure everything functions as intended.
Maintaining Your Restored Case 444: Long-Term Care
Consistent maintenance is crucial to preserving your restored tractor. Implement the following practices:
- Regular Oil Changes: Follow the manufacturer’s recommendations for oil change intervals.
- Fluid Level Checks: Regularly monitor hydraulic fluid, coolant, and other fluid levels.
- Belt and Hose Inspection: Inspect belts and hoses for wear and tear, replacing any damaged items.
- Air Filter Maintenance: Keep the air filter clean to maintain engine performance.
- Lubrication: Lubricate moving parts with appropriate grease or oil to minimize friction and extend longevity.
Frame Repair or Replacement: A Critical Decision
Frame damage, particularly near the transaxle, is common. Repairing a damaged frame requires welding expertise and precision. Replacing the frame offers a clean slate, but sourcing a replacement can be challenging. Weigh the pros and cons carefully: repair is potentially cost-effective but requires skilled labor; replacement guarantees structural integrity but increases cost and complexity. The choice significantly impacts both the project's timeline and budget.
| Option | Pros | Cons |
|---|---|---|
| Frame Repair | Potentially lower cost; preserves original components | Requires welding expertise; risk of improper repair |
| Frame Replacement | Guaranteed structural integrity; cleaner starting point | Higher cost; sourcing a replacement can be difficult |
Weighing the Pros and Cons: Is Restoration Right For You?
Restoring a vintage tractor like the Case 444 is a rewarding yet demanding endeavor. Before starting, assess the potential benefits and drawbacks.
| Pros | Cons |
|---|---|
| Unique and historically significant machine. | Parts can be challenging to locate and expensive. |
| Simple mechanical design. | Lower horsepower compared to modern garden tractors. |
| Rewarding and satisfying project. | Requires mechanical aptitude and significant patience. |
| Potential for value increase. | Restoration can be time-consuming and costly. |
| Connection to a simpler era. | May require specialized tools and expertise. |
The restoration of a Case 444 is a journey requiring patience, skill, and an appreciation for classic machinery. But the satisfaction of bringing this workhorse back to life is unparalleled.